Blush Draping 101: The Sculpting Technique That Replaces Contour


Blush isn’t just for adding a flush of color. With the right placement, it can also help define, lift, and visually shape the face—no traditional contour required.
Enter blush draping. This technique uses strategically placed blush to create dimension while keeping color at the center of the look. From softly sculpted cheeks to a more expressive wash of color, draping can be adapted to your features and personal style.
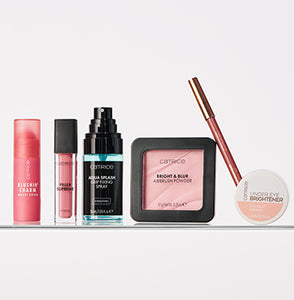
Ready to try it? Our blush draping tutorial breaks down how to drape blush, where to place your color, and how products like the CATRICE Blushin’ Charm Multi Stick, Blur Balm Palette, and Colour Flush Dewy Serum Blushes can help create the look.
What Is Blush Draping?
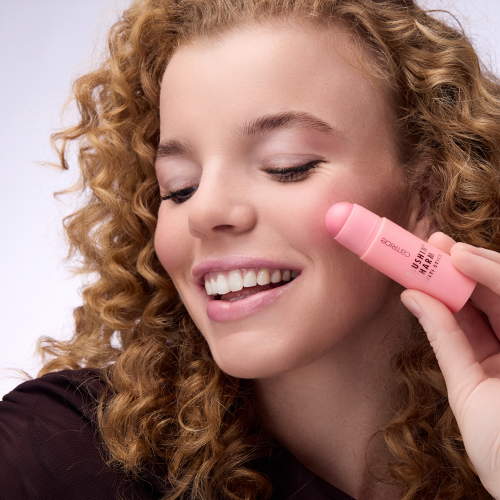
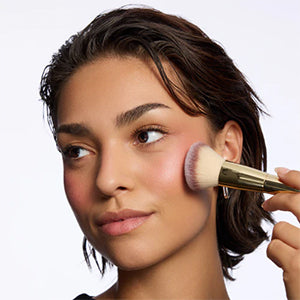
Blush draping is a makeup technique that uses blush placement to enhance the natural structure of the face. Rather than applying color only to the apples of the cheeks, blush is swept upward and outward along the cheekbones and toward the temples.
The result? Color and definition in one step.
While there are several blush placement techniques to explore, draping is all about using color to create a more sculpted effect. You can keep it soft and subtle or build up the pigment for a bolder statement.
Blush Draping vs. Contour: What’s the Difference?
When comparing blush draping vs contour, the biggest difference is color and placement.
Traditional contour typically uses cool, shadow-like tones strategically placed to create the appearance of depth. Blush draping takes a different approach, using rosy, peach, berry, or other blush tones to bring color and dimension to the face.
And you don’t necessarily have to choose one or the other. While draping can replace contour when you want a fresh, color-focused look, the techniques can also work together depending on your makeup style.
How to Drape Blush: A Step-by-Step Tutorial

Step 1: Create a Soft Base
Start with your complexion products, then add subtle dimension before applying blush. Keeping the complexion relatively understated also gives your blush placement room to become the focus.
Step 2: Start High on the Cheeks
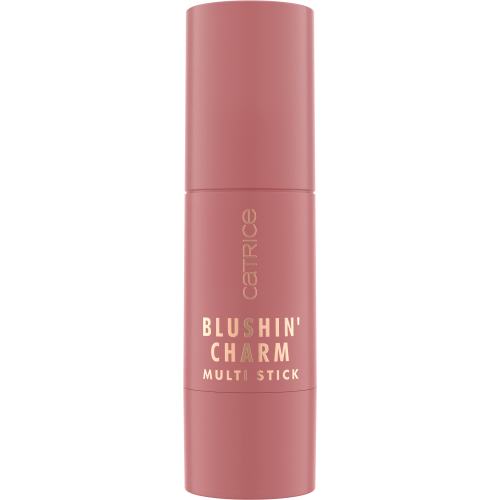
For a lifted effect, place blush slightly higher than you might with a traditional application. Rather than concentrating color directly on the apples of the cheeks, begin around the upper cheekbone.
The CATRICE Blushin’ Charm Multi Stick makes it easy to control your placement. Apply a small amount, then blend upward and outward toward the temples. Start softly—you can always add another layer.
Step 3: Blend Up Toward the Temples
The upward motion is what gives draping its sculpted appearance. Blend your blush along the cheekbone and toward the hairline, keeping the edges soft and diffused.
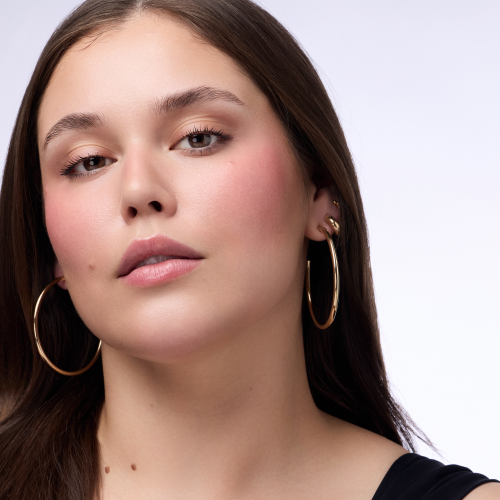
Step 4: Connect the Color
For a more statement-making draped look, extend a small amount of blush from the temples toward the outer eye area. This creates a continuous wash of color that connects the cheeks and eyes.
Prefer something subtle? Keep the color focused on the cheekbones and temples. Blush draping is easy to customize.
Finding the Blush Placement That Works for You
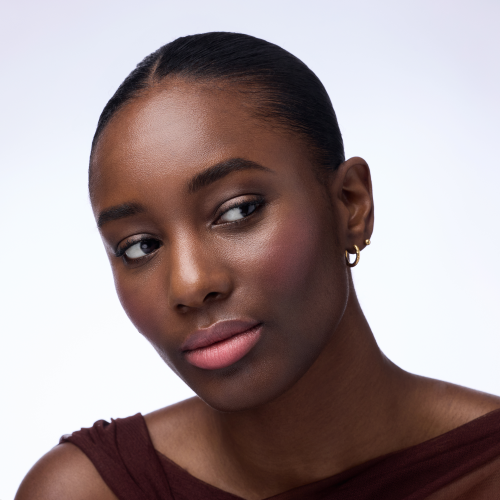
There’s no single placement formula that everyone needs to follow. Different blush placement techniques can create different visual effects, so use draping as a starting point rather than a strict set of rules.
Try placing color higher, extending it farther toward the temples, or keeping the blush closer to the cheeks. You can also experiment with texture: a multi stick can create a seamless cream-like effect, while a dewy serum blush brings fresh-looking radiance.
The best part of sculpting with blush is the freedom to make color the statement. Start with a little, blend upward, and build until the look feels completely yours.