Layering Products Like Your Fave MUA

What if we told you there’s a better way to layer products? That’s right, when it comes to your makeup, following a step-by-step routine can help maximize your results when it’s done correctly. If you’ve been applying your makeup in the same order for years (guilty!) or need a refresher course on the order the pros use, this post is for you. Here is the best way to layer your skincare, base, face, eye and lip products. But first, a beauty PSA: This content may have you rethinking your entire beauty routine.
Step 1: Layering your Skincare

Starting your makeup routine with skincare might not come as a surprise but the order of your skincare products just might. As a general rule, the products with the most actives (usually found in a lightweight serum) should go first to maximize skin absorption. Following your daily moisturizer and SPF, you can reach for the primer. To prevent product pilling, be sure to wait until your skincare (especially an SPF) is fully absorbed into the skin before layering your primer on top. For an illuminated skin effect, try this hydrating serum primer. It contains skin-loving squalene and it’s oil-free, which is great for layering makeup overtop.

Step 2: Layering your Base Makeup
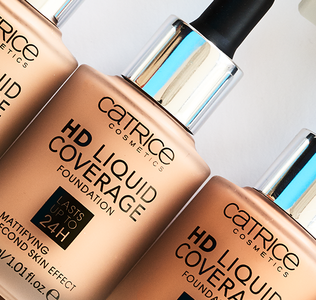
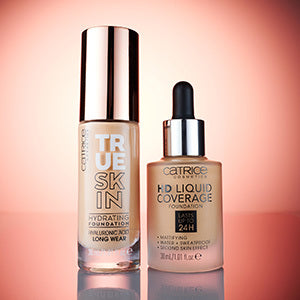
The most important order for nailing your base makeup is this: color corrector, foundation and then concealer. Why? Color corrector helps neutralize dark circles (go with a peach tone for this) or redness (using a green tint), making your foundation look and perform better. Another way to layer the right way is to match your skin type and needs to your foundation and concealer formulas. Concealer should be applied overtop of your foundation to spot treat any areas of the face that need a little more smoothening out, like around the eyes, nose and mouth.

Step 3: Layering your Bronzer, Blush and Highlighter
Once your complexion is even and seamless looking, you’re ready for your next set of layers, which are your face contouring products. Even if you don’t wear all three regularly, it’s good to know the order you should aim for. Start with your sculpting tool: bronzer. For a seasonless look, go for a matte finish and apply it to areas you’d like to contour (sides of the forehead, temples, cheek hollows, jaw and nose). We love a cream finish bronzer for this as it melts into the skin nicely. Next, apply blush to the apples of the cheeks being careful to blend it well so there are no harsh lines alongside your bronzer. Lastly, apply this shimmery highlighter to lift the areas of the face you’d like to bring forward like the upper cheekbones, the center of the forehead, inner eye corners, Cupid’s bow and the tip of the nose.
Step 4: Layering your Eye Makeup
One trick to learning how to layer products is understanding how they complement each other. For example, your brows frame the face, which makes them a great place to start. They also help set the tone for your shadow or liner. Whether you’re using a brow pen, gel or wax, remember to add color first and then style them with a texturizing product. For example, you wouldn’t want to apply wax before a pen but vice versa works.

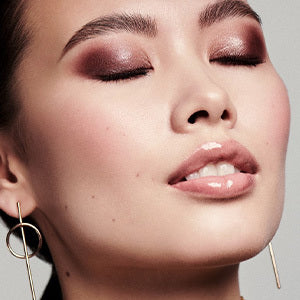
When it comes to eye shadow, be conscious about the level of drama you’re going for. Committed to a deep smoky eye? You might want to apply that before your foundation so that spillage isn’t an issue. Just think of dark gray shadow fallout all over your cheeks (no, thanks!).
Acing your eyeliner application is all about the location. For smoky eyes, gel liner should come before shadow as it provides a great smoky base that can be blended. If a cat eye is your goal, apply your liquid liner last and overtop of your shadow or solo for a precision job.
Think of your mascara as the finishing eye touch and apply it after everything else. No matter what effect you’re going for, from falsie-worthy to natural, always let your mascara dry before opening your eyes wide to prevent it from going on your lids and ruining your shadow or liner.
Step 5: Layering your Lip Products

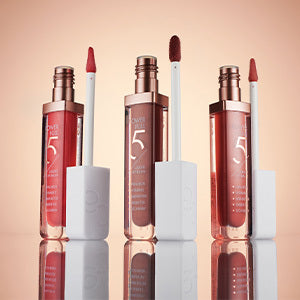
Think of layering lip products as building up to your desired effect. If you’re just a gloss girl, that’s fine but why not try a longwear lip liner first to bring some depth and dimension to your look? Ditto for your lipstick or lip balm. We love the pro trick of slicking on lip oil over top of lipstick or lip liner for an extra dose of shine for your lips.

Step 6: Finishing touches
The final and arguably most important step to learning how to layer products is finishing strong. Beauty pros know that two products will help set your makeup up for success and that’s a light dusting of loose powder and then a final mist of fixing spray to lock it in all your hard work.Winter Glow-Up: The Ultimate Dewy Skin Guide
The category is hydration!
Apply Eyeliner Like a Pro
There is no gatekeeping these pro eyeliner techniques


